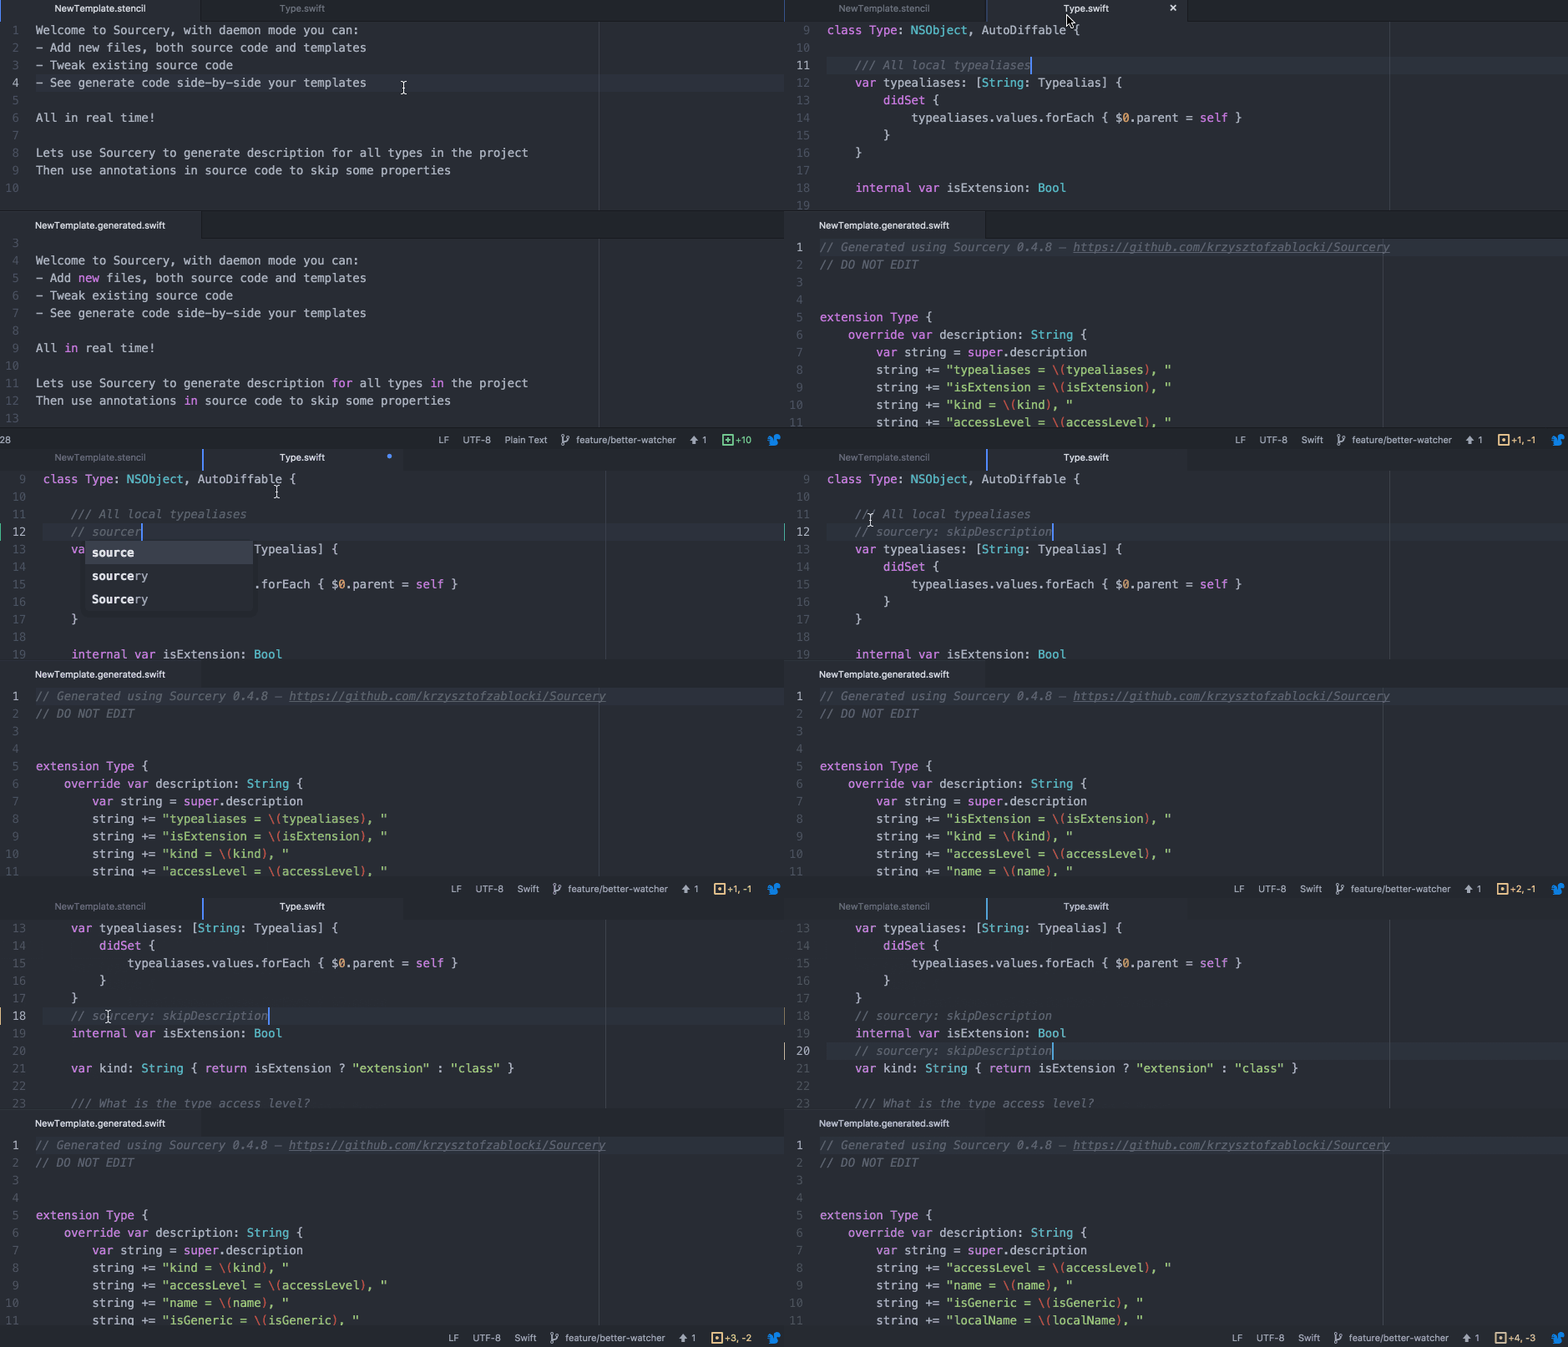
Sourcery is a code generator for Swift language, built on top of Apple’s own SourceKit. It extends the language abstractions to allow you to generate boilerplate code automatically.
![]()
介绍和前言
Sourcery 是一个非常方便的脚本代码生成器。使用它能为一些类扩展通用的方法,例如返回枚举的所有元素;例如为类自动生成 encoder 喝 coder 的代码。
有些类似于 java 的注解处理器,避免手写代码造成的错误。
它的 Github 地址在这里 krzysztofzablocki/Sourcery
它使用的脚本语法在这里可以找到 The Stencil template language
这两个地址用于入门是不够的,你可能会看的一脸懵逼,所以还是往下跟着节奏走。
使用

这一部分以 为 ObjectMapper 的 Model 生成代码,为总纲写的,但是 Sourcery 实际上不局限于使用在这个地方,理论上只要有代码多处相似都可以用它来优化。
本来正是为了这个目标才注意到这个库的,然而,发现路真的很曲折。不像其他开源库,能找到的资料太少了,大多数博客都只是介绍了个官方例子。翻了很久找到了几篇博客,先贴出地址来,看你的心情要不要去看看。
Reducing boilerplate code with Sourcery, 这个博客,咳咳,一到关键的地方代码就丢了,然而对应 ObjectMapper 的功能演示的很不错。
Sourcery Tutorial: Generating Swift code for iOS,这个是个入门博客,入门的时候参考着它的。博客中间的注册才能获取 Demo 代码被我忽略了,在 github 上找了一份同样的,Demo代码稍后在文章给出。文章后边部分也介绍了 Swift 4.2 自带的解析库,如果使用的话已经有很多的工具或者插件帮你生成代码。
如果英文有些吃力,这里有一篇中文博客 ObjectMapper实践(一),主要讲 ObjectMapper 的实践。文章后边会详细介绍。
安装和调试 Demo
安装工具
安装官方 github 提供的安装方式,先安装工具
1
brew install sourcery
安装直接需要这一步,下面就是调试Demo,是时候看一看 sourcery 的魅力了。
准备 Demo
安装之后就可以下载 Demo 进行体验了 : poos/BlogDemo/SourceryTutorial,其他的几步不用去管,可以去 ./appetizer/AutoEquatable.playground 直接体验
当你的准备工作做好之后,打开 palygroubnd ,打开Person.swift。这相当于自己写的 Model,下面将用脚本编程的方式为它提供一个 是否相等的方法。

编写脚本
注意本文中的脚本加了一些”“,用以防止跟 jekyll 博客脚本冲突,具体例如:
1
'{'{','{'%','%'}','}'}'   都可视为没有',文中使用了全局查找替换的方式修改
在同一级目录创建一个后缀名为 .stencil 的文件,然后在其中编写脚本代码,脚本语法在文章开头部分已经提过。值得注意的是,如果你将文件命名为 AutoEquatable.stencil,那么将生成一个名字为 AutoEquatable.generated.swift 的文件用于存放 Person 的分类脚本。所以通常可以直接命名为 Model.stencil
在其中写下如下脚本,大概可以看出意思是, 循环遍历所有的属性,生成了 guard value == value else { return false } 的代码
1
2
3
4
5
6
7
public static func ==(lhs: '{'{' type.name '}'}', rhs: '{'{' type.name '}'}') -> Bool {
    '{'%' for var in type.variables '%'}'
    guard lhs.'{'{' var.name '}'}' == rhs.'{'{' var.name '}'}' else { return false }
    '{'%' endfor '%'}'

    return true
}
运行脚本
在终端运行如下代码, 最后一个 –watch 参数不是必须的, 如果使用这个参数,代码会在保存时候实时生成脚本
1
2
3
4
sourcery --sources AutoEquatable.playground/Sources \
--output AutoEquatable.playground/Sources \
--templates . \
--watch
最后的结果是这样的, 最上边还贴心的给出注释 // DO NOT EDIT,通过脚本生成,不要编辑
1
2
3
4
5
6
7
8
9
10
11
12
13
// Generated using Sourcery 0.15.0 — https://github.com/krzysztofzablocki/Sourcery
// DO NOT EDIT


extension Person: Equatable {
    public static func ==(lhs: Person, rhs: Person) -> Bool {
        guard lhs.name == rhs.name else { return false }
        guard lhs.age == rhs.age else { return false }
        guard lhs.gender == rhs.gender else { return false }
    return true
  }
}
Demo比较简单,如果碰到问题可以回顾一下这个博客,里边有详细的步骤。Sourcery Tutorial: Generating Swift code for iOS
在项目中使用 Sourcery
ObjectMapper
这个博客中主要是将 ObjectMapper 使用的,但是文章末尾讲到了 Sourcery, 值得参考
文中的模板代码如下:
1
2
3
4
5
6
7
8
9
10
11
12
13
14
15
16
17
18
19
20
21
22
23
24
import ObjectMapper

'{'%' for type in types.implementing.AutoMappable|struct '%'}'
// MARK: '{'{' type.name '}'}' Mappable
extension '{'{'type.name'}'}': Mappable {

    init?(map: Map) {
        return nil
    }

    mutating func mapping(map: Map) {
    '{'%' for variable in type.storedVariables '%'}'
        '{'%' if variable.isArray '%'}'
            '{'{'variable.name'}'}' <- map["'{'{'variable.name'}'}'.0.value"]
        '{'%' "elif" variable.isDictionary '%'}'
            '{'{'variable.name'}'}' <- map["'{'{'variable.name'}'}'.value"]
        '{'%' else '%'}'
            '{'{'variable.name'}'}' <- map["'{'{'variable.name'}'}'"]
        '{'%' endif '%'}'
    '{'%' endfor '%'}'
    }
}
'{'%' endfor '%'}'
而且可以看到,除了普通参数生成,作者还特意标注了 isArray, isDictionary 的取值方法。注意如果多个数组需要不同的样式,用这种方式就不能行得通了。
更好的方式: 使用注释
如下的模型:
1
2
3
4
5
6
7
8
9
10
11
12
13
14
15
16
17
18
19
protocol AutoMappable {}

//sourcery: mappable
struct Person {
    //sourcery: jsonKey = "first_name"
    var firstName: String
    //sourcery: jsonKey = "last_name"
    var lastName: String
    //sourcery: jsonKey = "birth_data"
    var birthDate: Date
    var friend: [String]
    var lalala: Dictionary<String, Any>
    var age: Int {
        return Calendar.current.dateComponents([.year],
                                               from: birthDate,
                                               to: Date()).year ?? -1
    }
}
extension Person: AutoMappable {}
可以看到,我在 firstName, lastName 等参数上边写了注释。使用注释来判断需要修改的参数名字,这也同样是文章开头那篇博客里使用的的。但是尴尬的是博客里面缺少太多的示例代码。
不过 github 上的千万级开发者一定有人分享了这个,我通过 github 搜索,在 aichiko0225/LJInstalment 这个工程里面找到了示例,对照着例子就可以进行如下代码的修改。ps:除了找例子,还有一个好的方式就是去读语法规则的代码。
1
2
3
4
5
6
7
8
9
10
11
12
13
14
15
16
17
18
19
20
21
22
23
24
import ObjectMapper

'{'%' for type in types.implementing.AutoMappable|struct '%'}'
// MARK: '{'{' type.name '}'}' Mappable
extension '{'{'type.name'}'}': Mappable {

    init?(map: Map) {
        return nil
    }

    mutating func mapping(map: Map) {
        '{'%' for variable in type.storedVariables '%'}'
        '{'%' if variable.isArray '%'}'
        '{'{'variable.name'}'}' <- map["'{'{'variable.name'}'}'.0.value"]
        '{'%' "elif" variable.isDictionary '%'}'
        '{'{'variable.name'}'}' <- map["'{'{'variable.name'}'}'.value"]
        '{'%' else '%'}'
        '{'{'variable.name'}'}' <- map["'{'{'variable.annotations.jsonKey|default:variable.name'}'}'"]
        '{'%' endif '%'}'
        '{'%' endfor '%'}'
    }
}
'{'%' endfor '%'}'
更多,更多的用法就要看一看语法规则,除了协议,注释,还有很多其他有趣的用法。先发一个上边库中的例子,涉及 类,变量,方法 的编程:
1
2
3
4
5
6
7
8
9
10
11
12
13
14
15
16
17
18
19
20
21
22
23
24
25
26
27
28
29
30
31
32
33
34

'{'%' for type in types.based.AutoMockable '%'}''{'%' if type.kind == 'protocol' '%'}'
// ...

'{'%' if not type.name == "AutoMockable" '%'}'
// ...

class '{'{' type.name '}'}'Mock: '{'{' type.name '}'}' {
// 类...

    '{'%' for variable in type.allVariables '%'}'
    // 属性...

    var '{'{' variable.name '}'}': '{'{' variable.typeName '}'}'
    // ...

    '{'%' for method in type.allMethods '%'}'
    // 方法...

    '{'%' if not method.shortName == "init" '%'}'var '{'{' method.shortName '}'}'Called = false'{'%' endif '%'}'
    // ...

    '{'%' if method.parameters.count == 1 '%'}'var '{'{' method.shortName '}'}'Received'{'%' for param in method.parameters '%'}'
    // 参数...

    '{'{' param.name|upperFirst '}'}': '{'{' param.typeName.unwrappedTypeName '}'}'?'{'%' endfor '%'}''{'%' else '%'}''{'%' if not method.parameters.count == 0 '%'}'var '{'{' method.shortName '}'}'ReceivedArguments: ('{'%' for param in method.parameters '%'}''{'{' param.name '}'}': '{'%' if param.typeAttributes.escaping '%'}''{'{' param.unwrappedTypeName '}'}''{'%' else '%'}''{'{' param.typeName '}'}''{'%' endif '%'}''{'%' if not forloop.last '%'}', '{'%' endif '%'}''{'%' endfor '%'}')?'{'%' endif '%'}''{'%' endif '%'}'
    '{'%' if not method.returnTypeName.isVoid and not method.shortName == "init" '%'}'var '{'{' method.shortName '}'}'ReturnValue: '{'{' method.returnTypeName '}'}'!'{'%' endif '%'}'
    // 更多

'{'%' endfor '%'}'
}
'{'%' endif '%'}''{'%' endif '%'}'
'{'%' endfor '%'}'
我还找到了其他的 repo ios-sourcery
关于项目集成
说一下项目集成的事情,查到的博客都是下载包然后在工程用的。其实有更方便的方式,看着 sourcery github 的介绍,支持 cocoapod 的,于是建了个项目试了试,调了几下,完美运行,果然 cocoapods 是最方便的三方库管理工具。
按照如下的步骤即可使用 cocoapods 导入
-
Profile 添加 pod ‘ObjectMapper’ ,并且导入
-
项目 build Phases 添加 run Script ;Shell 指向 $PODS_ROOT/Sourcery/bin/sourcery,运行脚本的命令为 sourcery –sources SingleView –templates SingleView –output SingleView
这样每次 build 和 run 的时候都会生成最新的模板。同样这也是官方提供的方式。
集成的一些建议
强烈建议使用文件夹区分 model,和模板扩展
1
sourcery --sources ./LJInstalment --templates ./LJInstalment/Templates/AutoCodable.stencil --output ./LJInstalment/Sources/AutoGenerated
开发这一块代码的时候, 也可以同时使用 终端的命令 , 可以在写模型和脚本的时候随时更新。
1
sourcery --sources SingleView --templates SingleView --output SingleView -- watch
注意本文中的脚本加了一些”“,用以防止更 jekyll 脚本冲突,具体例如:’{‘{‘,’{‘%’,’%’}’,’}’}’,
总结
一路走来,踩了不少坑,后边的路也还有很远,算是入了个门吧。最后给大家一些建议。
使用 cocoapods 集成到项目中;然后,写参数时候注意多用注释,多看语法网站 The Stencil template language。
最最后,放一下代码存放地址 poos/BlogDemo/SourceryTutorial